
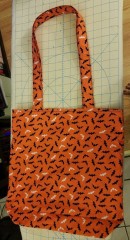
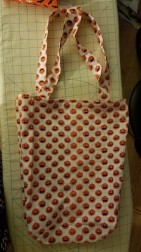
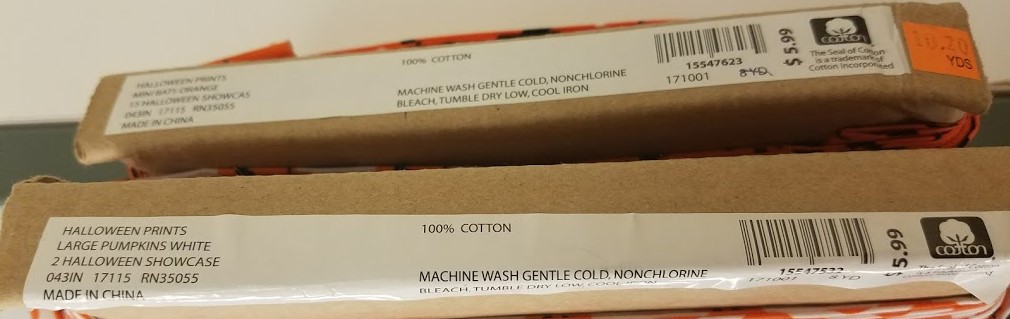
When I was shopping for Halloween costume material, I decided on a whim to make trick or treat bags for my niece and nephew. A quick google search resulted in a plethora of options from which I could choose. After reading through a few of them, I decided to try the tutorial by Sweet Bee Buzzings for a simple one yard tote. I bought some Halloween-themed fabric (jack-o-lanterns for the toddler to be dressed as one and bats for the little boy who requested a bat costume when I was unsure I could make a kangaroo) and went to work. The bags were cheap and easy to make and turned out reasonably well. What I did not consider is the relative size of the bags to the children. Both of them would find the strap length ridiculous and the little one would definitely drag hers on the ground; she might even be able to fit in it if she tried – she is pretty small! The kangaroo costume I made also ended up being too big (and itchy somehow even though I lined it with cotton) so I did not do too well this Halloween. Still – one bag got used (cleverly knotted up to fix the long strap problem and I fell in love with the idea of the one yard tote bag. (A note on the pictures – the bags are the same size, I just folded the pumpkin one in a funny manner.)
I decided to make a bag with this pattern for my great aunt and found that when I cut a chunk off of the straps, that portion could be used to make a cute little pocket (the tutorial creator suggests making a coin purse). Also, for this bag, I got some hook and loop fastener (generic Velcro) and sewed it along the top. I think it turned out pretty well although apparently, I neglected to take a photo of it. After that success, I thought it would be a good craft to make in bulk. I have six employees plus two co-workers in the department and it seems like an easy thing to make as a nice little holiday gift, especially if I bake some cookies to go inside (well, not directly inside). It remains to be seen whether I will feel up to baking cookies that I cannot eat but I did buy a star shaped cookie cutter in case I decide to go through with it.
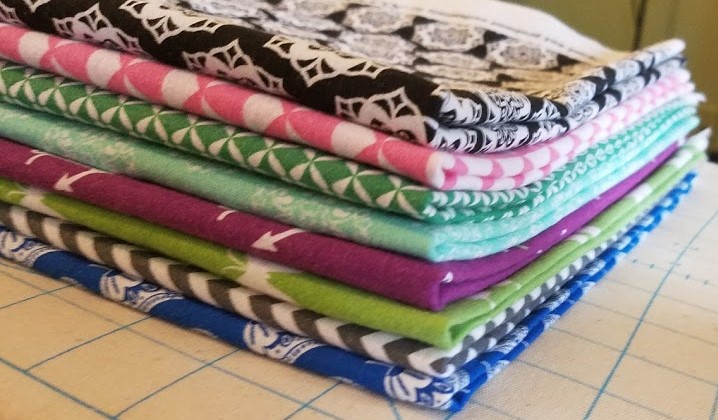
Also, to be honest, I needed a project after I finished the quilt for my cousin-nephew. This is easy enough to do while watching TV so I used my Brother sewing machine which is less loud (although also less good when it comes to stitch quality). I bought a yard each of nine fabrics (one extra, just in case – I am sure I will find a recipient). The fabric is all from Jo-Ann’s Quilter’s Showcase collection, which is pretty cheap – especially when on sale. The fabric quality varies some. It is not actually a very nice quilting cotton although some is soft enough, other prints feel stiff even after being washed, which is fine for a bag but less desirable for a garment or a quilt.
I also used the quantity I am making as an excuse to buy new iron-on labels. This is partially because I know I am running low on the ones I bought the past and partially because I cannot find those anyway. I ordered a set from It’s Mine Labels, a company with which I have been pleased before. I like that they make iron-on labels because it is way less of a pain in the proverbial butt to do that than to sew them on by hand and bury the threads. On the other hand, iron-ons do not work well for knitwear so I guess I have to keep getting both kinds. In the past, I have ordered labels with an icon (yarn or thread or something) but that takes up space I need for my full name so I went with text only this time. Yes – the font is Comic Sans, I know it is overused but I am okay with it. The labels arrived after only a few days and I was about to iron one onto my aunt’s bag when I noticed the typo.

My first assumption (stereotypical female that I am) was that I had made an error when ordering the labels. After finding my confirmation and verifying that I had not, I contacted the company to report the problem. They fixed it and got me new labels with the right spelling in another couple of days. I was pretty impressed with both their speed and their customer service. I should have thrown away the typo set but a part of me thought “hey, maybe I will be able to use these someday”. It was not a bright idea. I guess I could theoretically cut them all in half and discard the misspelling but that seems like a lot of work and I don’t know what I would do with labels with just my name – iron them into my underwear like I am going to sleepaway camp? Of course, inevitably, I accidentally ironed the bad labels into my first few bags and had to work to get them off so I could replace them with the good ones. I should not admit this but I still have not thrown out the bad labels (with the exception of the ones I inadvertently used). I am such a hoarder – it is a real problem with an apartment the size of mine.
I am now going to document my bag creation process step-by-step. Like I said, I used the tutorial from Sweet Bee Buzzings, which is great (all credit goes to the blogger) but I made a few changes – some for better some for worse. I used a lot of zigzag stitching as a sort of simple decorative stitch. Also, I totally eliminated hand sewing the hole partially due to laziness and partially due to a probably misguided desire for stability. The bags are theoretically reversible, so the pocket can be on the inside or outside although the zigzag along the bottom doesn’t quite line up with the seam on the non-pocket side. Also, I did not pay attention to directionality as well as I should have when cutting the fabric, so a couple of them have upside-down insides. The pockets made with directional fabric are more up and down, like they are supposed to hold a phone than the other kind. The pictures were taken of various bags in process so it is a mish-mash of colors. Anyway, now that I have talked (typed) excessively, here is my step-by-step process. Not every step has a picture but some steps have many – I took too many pictures. Some of this stuff can be done in a slightly different order but this is how I accomplished it, using batch processing. FYI, my seam allowances are all about 1/2″ or whatever the distance is from my needle to the edge of my presser foot.
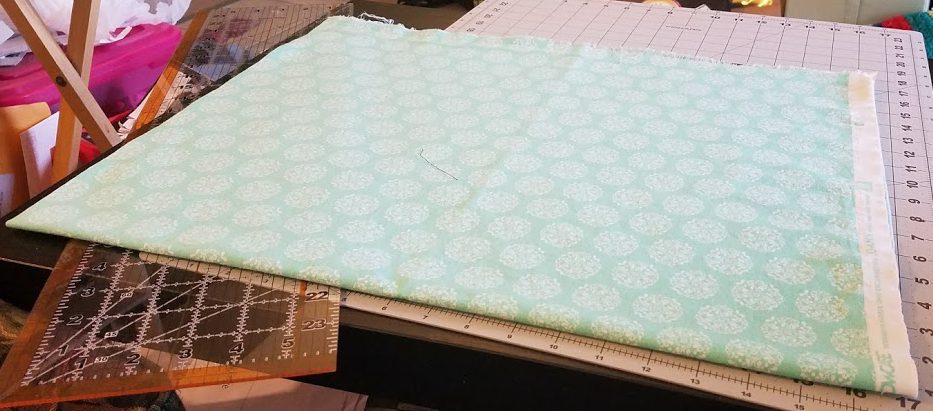
Buy fabric (one yard for each bag) and thread if you need to (I decided to use white for everything and only selected fabrics that contained white for matching purposes). This is, of course, the most fun step because it involves going to the fabric store but I guess you could shop in your stash instead.
Wash fabric. I don’t use detergent when pre-washing my fabric unless I am just throwing it in with my laundry, which I do often but this time, I ran a load of just cotton fabric on hot with no detergent.
Iron fabric. I never iron my clothes – they are consistently wrinkled and terrible looking but I iron a lot when I sew because it is important to have things lie flat.
Fold fabric. Fold each yard of fabric in half lengthwise then in half widthwise (or the in the other order – it doesn’t really matter). Make sure the selvage edges line up although the corners and cut edges may not, depending on how well the person at the fabric store cut in a straight line.
Cut fabric. This is where sub-steps start to come in because there are multiple cuts to be made.
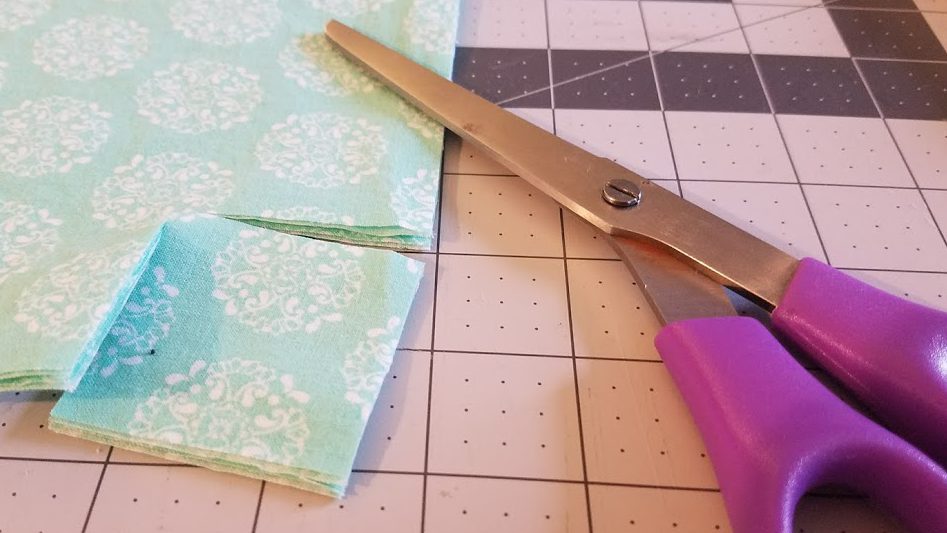
Trim bag pieces, removing all frayed and/or uneven edges by cutting a straight line perpendicular to the adjacent edge. You can leave selvages (unless they are frayed) and folds for now.
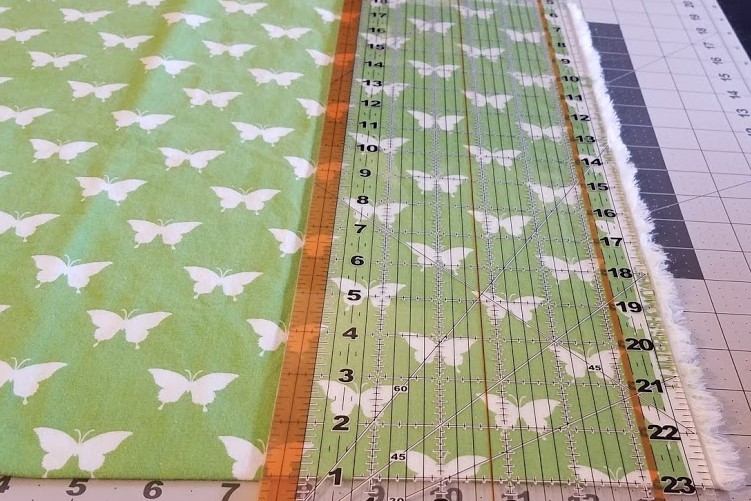
Cut a straight line 5 inches away from the selvages.
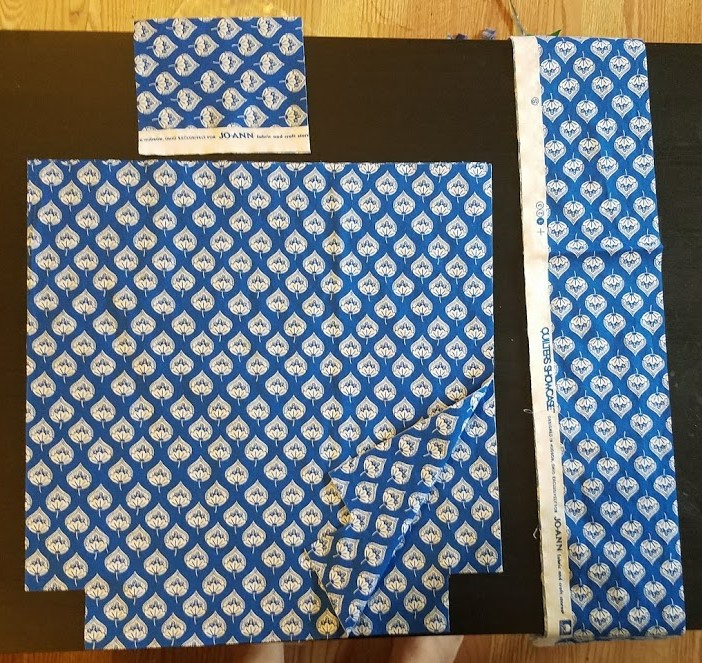
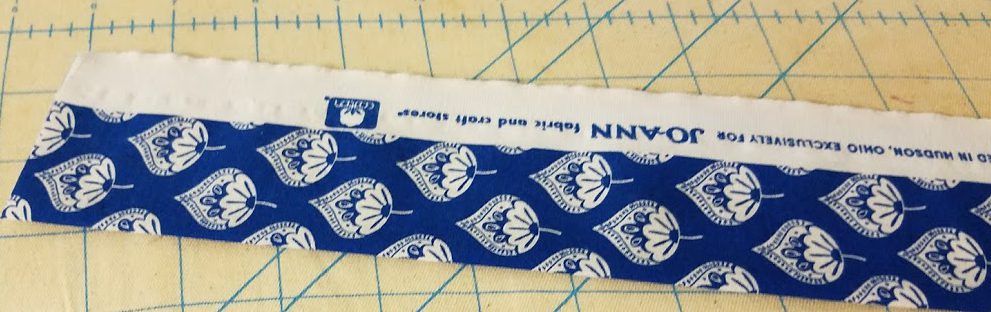
Unfold handles. There will still be 2 layers because there are 2 handles.
Cut pocket. Cut 6″ from one end of the handles.
Trim folds perpendicular to cut edges.

Rearrange fabric if necessary. Because of the way you folded the fabric, two of the panels will be upside down if you have directional fabric. If the design has 180° rotational symmetry (or a reasonable facsimile of it) you do not have to do this step.
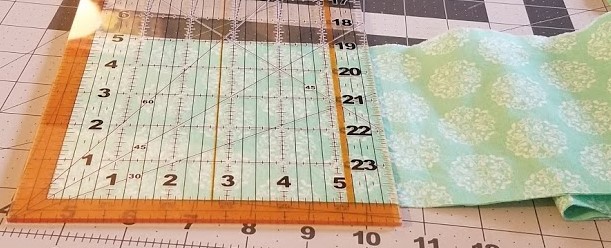
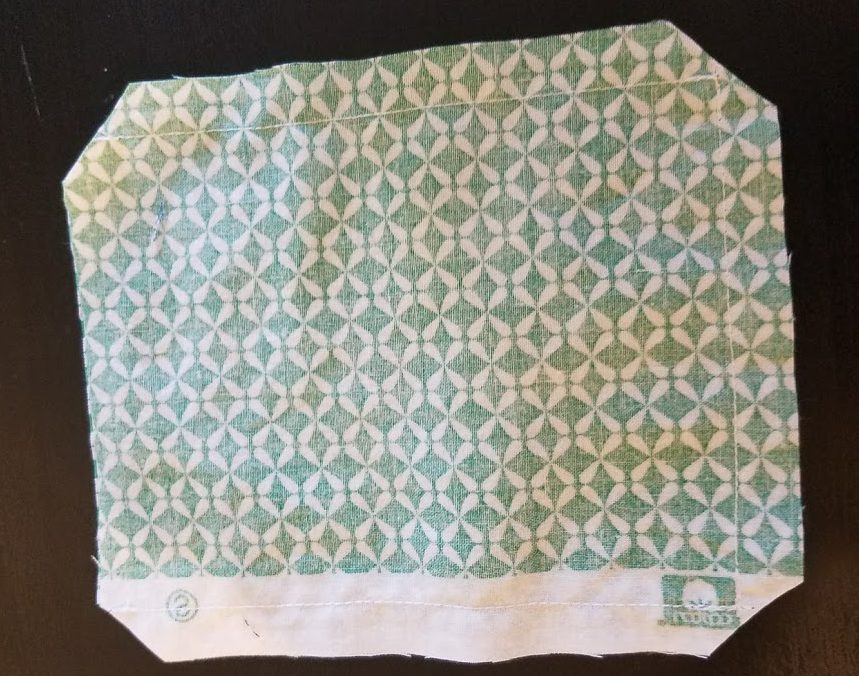
Cut corners. These will be the BOTTOM corners after you have aligned the fabric as needed above. You can mark 2″ squares and cut them with scissors but I like to use my rotary cutter to get up close to 2″ then just finish them off by snipping with scissors.
Handles
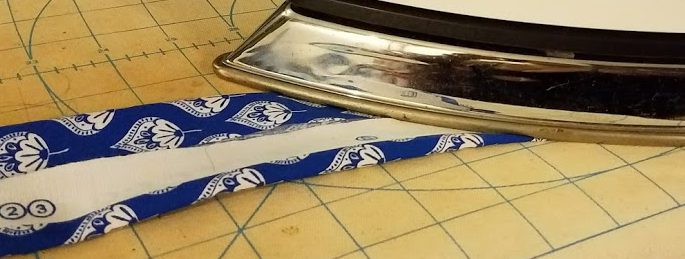
Fold in half lengthwise.
Iron to make a crease.
Open, then fold each side in to meet the crease. It is better to be a little shy of the center crease than to go over it. Theoretically, you would match it up exactly but I never manage to do that.
Iron new creases.
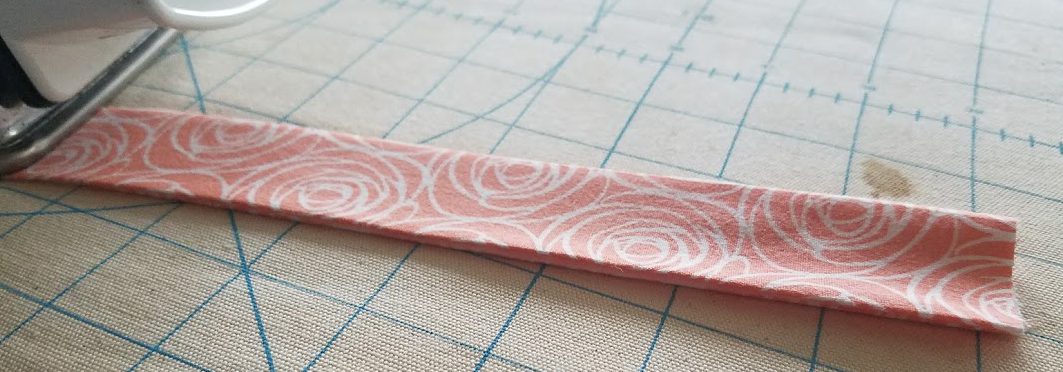
Fold along first crease.
Iron handle.
Sew handle along edges with a zigzag stitch.
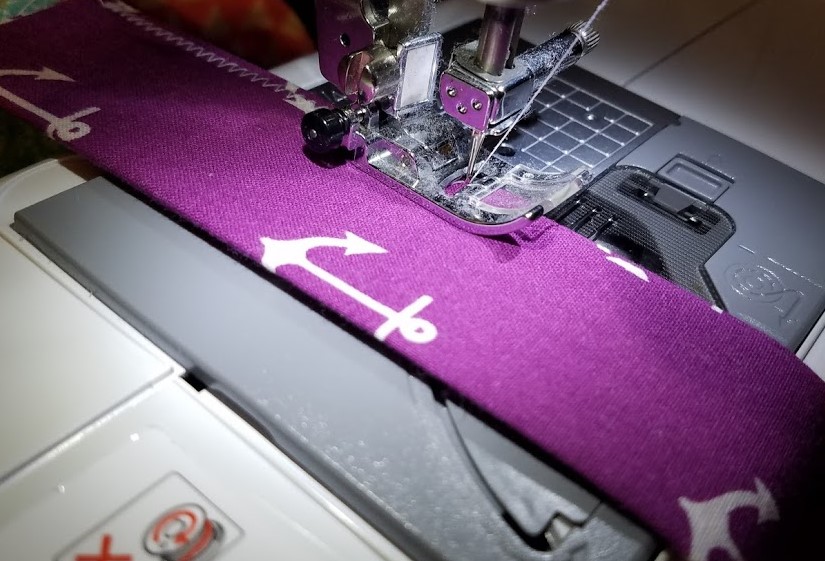
Sew handle along fold with a zigzag stitch.
Repeat for second handle piece.
Pin pocket pieces with right sides together.
Sew along 3 sides only. The side left open may be any one EXCEPT the top. The bottom or either side is acceptable. Note the direction of the fabric when determining which edge will be the top.
Trim corners of pocket.
Turn pocket and poke out corners as much as possible.
Fold unsewn edges inside of pocket.
Iron pocket.
Pin pocket to one panel of the bag. If the fabric is directional, make sure it faces the right way. Center the pocket side to side. The height of the pocket does not matter so much, I made all of mine the same but that is just because I was being a one lady sweatshop.


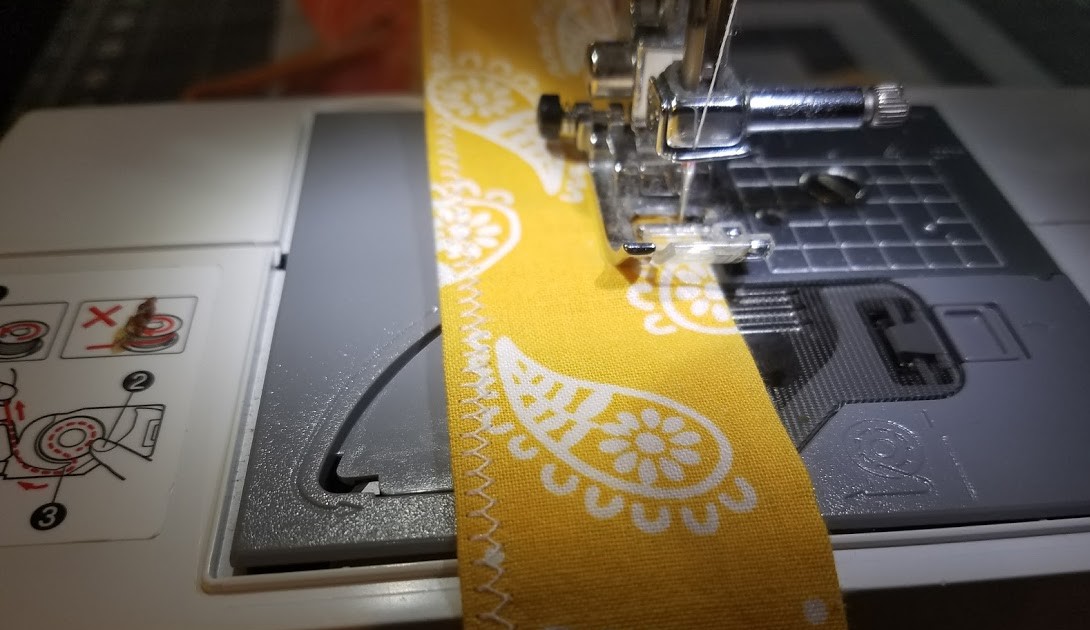
Sew around 3 sides of the pocket using a zigzag stitch centered at the edge of the fabric. Do NOT sew across the top – that would close the pocket off and make it pointless!

Iron in a label (if you have such things) – at least that is what I did at this point. I figured inside the pocket was a reasonable place to put my name so that it doesn’t stand out too much.

Pin bag panels with right sides together and (obviously) corner cutouts matching up. Do this 2 times (for the outside and for the lining).

Outside of bag
NOTE: I put the pocket on the outside. For an inner pocket, just use the non-pocketed panels for this step.
Sew along 2 sides which have a single cut corner each.
Sew part of the way along the bottom side, leave a gap (3 – 6 inches, depending on how hard you want to work to turn the finished product inside out.

Do NOT sew along the intact side – that will be the top of the bag.
Lining of bag
Sew along 3 sides which have cut corners.

Do NOT sew along the intact side – that will be the top of the bag.
Both Outside & Lining

Iron seams open. I used a little ironing board designed for sleeves. That is just as well because I don’t know if I have ever actually ironed a sleeve.


Open up the bag and pin the corners together with the right sides together, matching the seams.


Sew the corners (2 per side – 4 total).

Iron the corner seams down. They can’t be pressed flat without cutting so I like to press them toward the bottom on the outside of the bag and toward the sides on the lining of the bag.

Turn the outside (or the lining if you are doing an inner pocket) right side out.

Pin a handle to the outside, equidistant from the pocket, which is convenient centering tool. I like to do it one handle width away, mostly because it is a consistent relative measurement for which I have a tool on hand – the handle for the other side! (Okay, I used a different handle to be able to see better but that is not really necessary.

Verify, when pinning the second end of the handle that it is not twisted.

Turn the outside over and make sure it is lying flat and folded at the seams.
Pin the second handle to the back of the bag, matching it up with the front handle and making sure it is not twisted.
Sew the handles to the bag in four places, using a seam allowance slightly smaller than you are using everywhere else on the bag (mine was about 3/8″). Be careful not to sew the tops together – there are four individual seams here!

Place the outside of the bag INSIDE the lining so that the right sides are facing each other and the handles are fully contained between the layers.


Pin the outside to the lining all around the top of the bag, making sure that no parts of the handles are caught except in the four locations where they were sewn on.
Sew around the top of the bag, again making sure that nothing is being sewn together that should not be (not that I made that mistake at some point and learned the hard way about this by having to use a seam ripper to free one handle).

Turn bag right side out by reaching through the hole left in the outside of the bag and pulling out what seems like the innards. I think it is easiest to grab the handles and pull them out first, the rest of the bag just sort of follows then.


Tuck the lining of the bag into the outside.
Iron the new seam along the top so it is nice and flat.

Sew a zigzag stitch around the top edge.

Pin the bottom so that the gap is closed and lines up with the seam on the inside.

Sew a zigzag stitch along the bottom seams. This is why I put the gap on the outside, so I can line up the stitching with the gap – I never get it looking quite right on the other side.

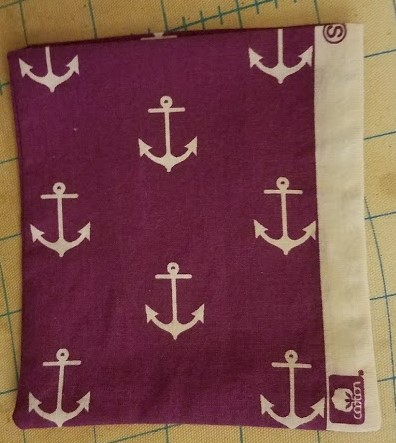
Done!


These came out cute! The pocket is such a good idea (and much simpler than my idea of “make a whole other project out of it.”
LikeLiked by 1 person
Thanks! I love your tutorial and just had to find an excuse to make a bunch of bags 🙂
LikeLike